White Light Optical Profiling
An optical profilometer (optical 3D surface profiler, coherence-scanning interferometer) is a non-contact instrument for measuring surface texture on precision surfaces.
An optical profiler, a wide-band (white) light source beam is split into “test” and “reference” beams, which are reflected from the test surface and a high-quality reference surface. The beams are recombined, to form a pattern of light and dark fringes called an “interferogram.” The test surface is shifted vertically relative to the reference, and several interferograms are collected. From these interferograms, the height of each point in the field of view can be determined with sub-nanometer resolution.

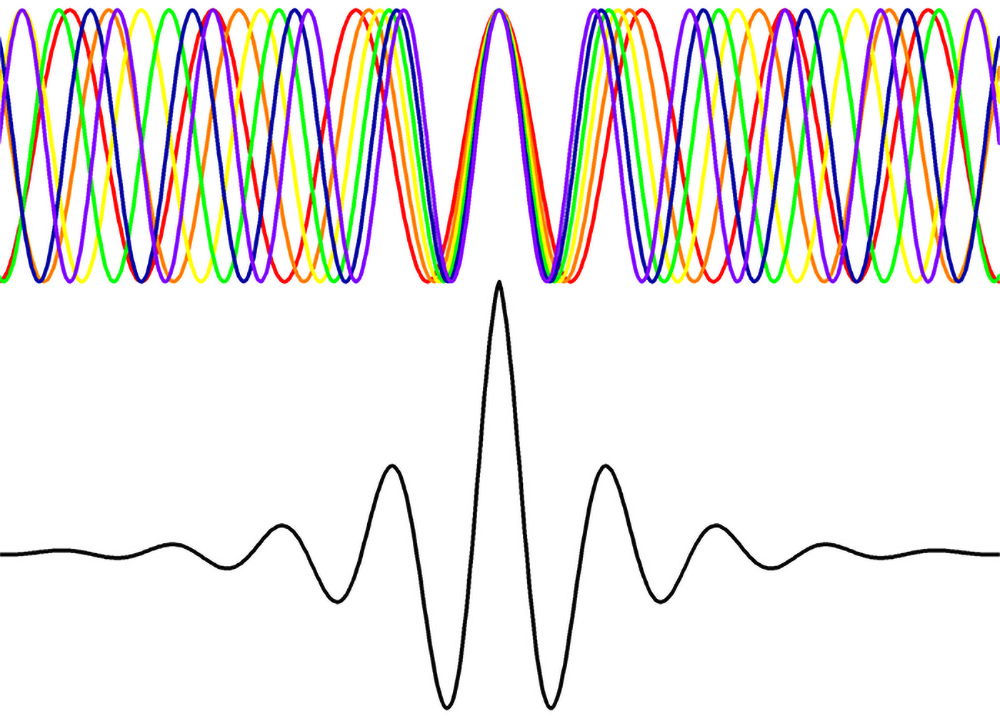
A white light source consists of many wavelengths, resulting in a very short coherence length.
Several techniques are used for collecting data:
White Light, or Vertical Scanning Interferometry, is a coherence scanning technique in which the measurement head scans the test part from top to bottom. For each pixel, the system records the position where the brightest interference fringe occurs, and that information is used to calculate the height at that pixel.
Phase-Shifting Interferometry (PSI) was developed to measure very smooth surfaces such as polished optics. See Phase-Shifting Interferometer.
